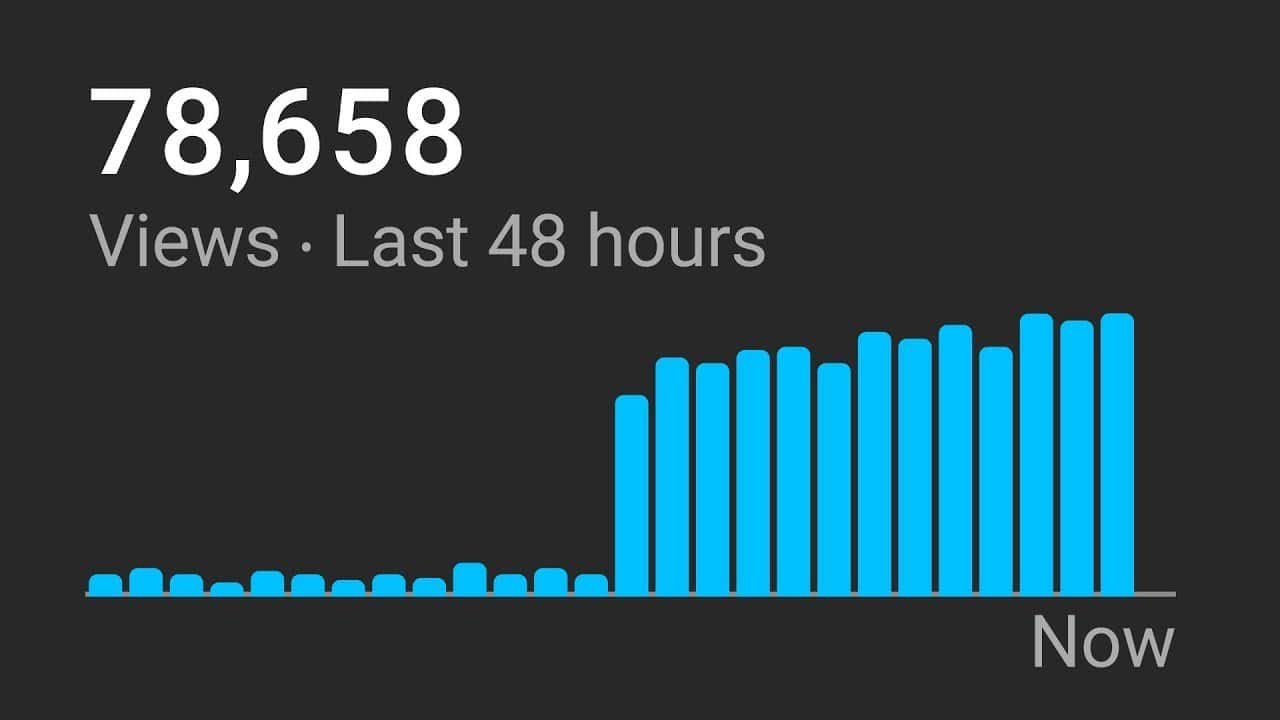
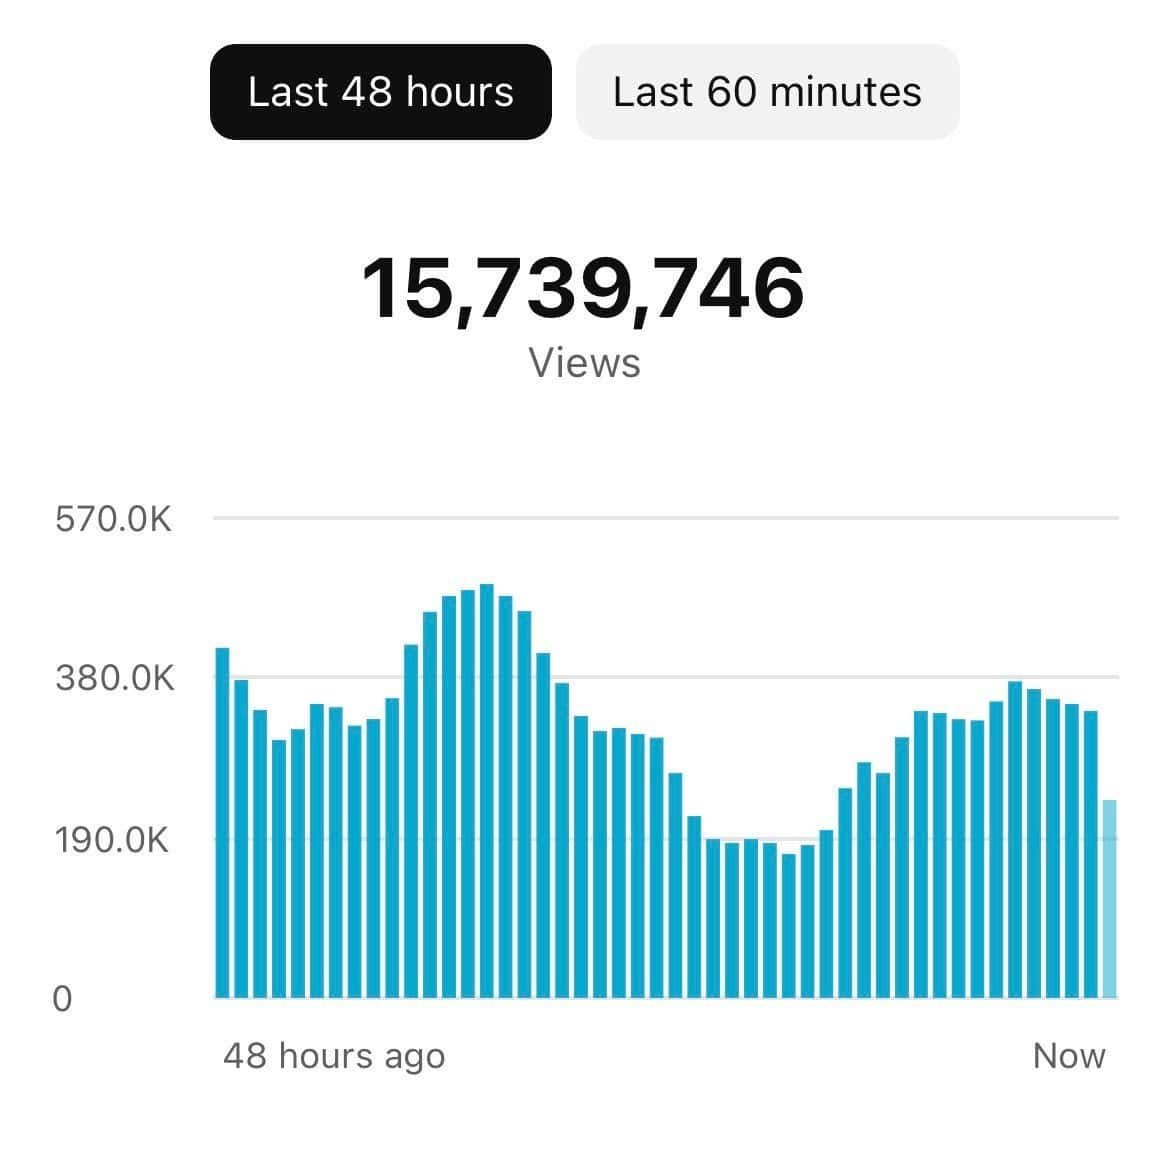
Hey man! So, you’ve poured your heart and soul into creating an amazing video. You’ve spent hours editing, perfecting the audio, and making sure the content is top-notch. But when you upload it to YouTube, it feels like you’re shouting into a void. Views trickle in at a snail’s pace, and your dreams of YouTube stardom seem further away than ever. What’s missing? You might be missing a few key strategies to help your video stand out in the crowded space of YouTube. Consider optimizing your title and description with trending keywords, and engaging with your audience through comments and social media to foster a community. By implementing these tactics, you can unlock viral views on YouTube and turn that hard work into recognition.
The answer is simple: your thumbnail.
Think of your thumbnail as the packaging for your video. It’s the first thing viewers see, and it’s what ultimately makes them click. In fact, crafting great thumbnails is key to success on YouTube, in addition to valuable content. A well-designed thumbnail can be the difference between a viral sensation and a video that nobody watches.
In this blog post, you’ll learn how to create click-worthy thumbnails that will grab viewers’ attention and make them want to watch your videos. We’ll cover everything from the essential elements of a good thumbnail to the technical steps you need to take to bring your vision to life. You’ll discover tips on color schemes, fonts, and imagery that resonate with your target audience. By the end of this guide, you’ll have the knowledge and tools to design eyecatching youtube thumbnails that stand out against the competition. Get ready to elevate your video content and increase your click-through rates significantly!
Why Thumbnails Are Your Secret Weapon to YouTube Success
- First impressions matter: Your thumbnail is the first thing people see, so make it count.
- Thumbnails are your gate to success: A good thumbnail is the key to getting more views on YouTube.
- Packaging matters: Think of your thumbnail as the packaging for your video.
- Grabbing Attention: Thumbnails with contrasty, vivid colors will grab the viewer’s attention.
Unlocking the Secrets of a Click-Worthy Thumbnail
So, what makes a good thumbnail? It’s not just about making it look pretty. There are specific criteria that every successful thumbnail should meet:
- Arouse CuriosityA good thumbnail should create a curiosity gap in the viewer’s mind. It should hint at the value of the video without giving everything away. The goal is to make people think, “I need to know more!”
- Clear and Direct MessageViewers often see thumbnails in a very small size, especially on mobile devices. Your thumbnail needs to convey a clear and direct message, even at a glance. Avoid clutter and make sure the main elements are easy to understand.
- Catchy and ContrastyUse contrasty colors, hot and cold colors, and contrast in sizes to make your thumbnail pop. Add special effects and lighting to grab attention.
- RelevanceThe thumbnail needs to relate to the video’s content without distracting from the main message.

Step-by-Step: Creating a Thumbnail That Demands Attention
Let’s get practical. Here’s a step-by-step guide to creating thumbnails that will make your videos stand out from the crowd:
Step 1: Setting Up Your Canvas
- Choose Your Tool: If you have Photoshop, great! If not, use a free alternative like Photopea.
- Create a New Project: In Photopea, create a new project and name it “Thumbnail”.
- Set Dimensions: Use the dimensions 1920 x 1080 pixels.
Step 2: Image Selection and Background Removal
- Choosing the Right Image: Select well-lit images with dynamic lighting to grab attention.
- Remove the Background: Use Adobe Express to easily remove the background from your image.
- Upload your image to Adobe Express.
- Let Adobe Express automatically remove the background.
- Download the image with the background removed.
Step 3: Adding Your Image to Photopea
- Drag and Drop: Drag your image into the Photopea canvas.
- Resize: Enlarge the image to focus on your face.
- Create a Mask: Remove unwanted parts of the image by creating a mask.
- Click the mask button.
- Use the brush tool with black color to remove parts of the image.
Step 4: Setting the Background
- Choose a Background: Select a background related to your content that isn’t distracting.
- Darken the Background: Use the Curves adjustment layer to darken the background.
- Go to Window > Adjustments if you don’t see the adjustments panel.
- Create a Curves adjustment layer and darken the background.
Step 5: Making Your Image Pop
- Create a New Layer: Add a new layer to create glow effects.
- Choose a Color: Pick an orangey color from the background.
- Add Glow: Use a soft rounded brush to paint glow effects around the image.
- Change Blending Mode: Change the blending mode to “Screen”.
- Emphasize Glow: Add another layer with a brighter color and the “Screen” blending mode.
- Add Touches: Use the same brush to add touches of light.
Step 6: Creating Inner Glow and Stroke
- Blending Options: Right-click the image layer and go to “Blending Options”.
- Inner Glow: Add an inner glow effect with a bright orangey color.
- Adjust the size and opacity of the glow.
- Stroke: Add a white stroke.
- Create Layers: Extract the effects into separate layers by right-clicking the effects arrow and selecting “Create Layers”.
Step 7: Masking and Fading Effects
- Mask the Stroke: Create a mask for the stroke layer.
- Remove Parts: Use the brush tool with black color to remove parts of the stroke.
- Soften Edges: Use a soft rounded brush to fade the edges.
- Mask the Inner Glow: Create a mask for the inner glow effect.
- Decrease Flow: Reduce the brush’s flow to fade the effect.
Step 8: Final Image Adjustments
- Select Layers: Select all image-related layers.
- Resize: Press Alt+Ctrl+T (or Ctrl+T in Photoshop) to resize the image.
- Add More Glow: Add a saturated orange glow using a soft brush.
- Add White Touch: Add a smaller white touch in the center of the glow.
- Change Blending Mode: Change the blending mode of the layer to “Screen”.
- Adjust Size and Shape: Resize and rotate the glow effect.
- Duplicate: Duplicate the glow effect by pressing Alt and dragging.
- Sharpen: Go to Filter > Sharpen > Smart Sharpen and increase the sharpness.
Step 9: Adding Text
- Group Image Layers: Group all image-related layers by selecting them and pressing Ctrl+G.
- Shift Image: Shift the image group to the right.
- Add Text: Use the text tool to add your text.
- Adjust Size: Make the text bigger.
- Tweak Letters: Adjust the tracking (distance between letters) in the Character window.
- Blending Options: Right-click the text layer and go to “Blending Options”.
- Gradient Overlay: Add a gradient overlay.
- Stain Effect: Add a stain effect and adjust the color, opacity, and size.
- Drop Shadow: Add a drop shadow, adjusting the size, opacity, and position.
- Stroke: Add a stroke to create a 3D effect.
- Duplicate Text: Duplicate the text layer by pressing Alt and dragging.
- Change Text: Double-click the duplicated layer to change the text.
- Change Color: Modify the gradient overlay for the new text.
Step 10: Adding Icons and Emojis
- Bring in Icons: Add relevant icons and emojis.
- Resize: Resize the icons and emojis.
- Add Effects to Emoji: Add a drop shadow to the emoji.
- Double click on the emoji.
- Adjust the shadow orientation and softness.
- Add Effects to Photoshop Icon: Add a white stroke, inner glow (bluish light), and outer glow (same blue color) to the Photoshop icon.
- Create a stroke with a white color.
- Create inner glow with some bluish light.
- Create an outer glow with the same blue color.
Step 11: Creating a Container
- Create a Rectangle: Use the rectangle tool to create a container for the text.
- Tweak Shape: Use the direct selection tool to adjust the shape.
- Right click and choose direct selection.
- Select a point and tweak it.
Step 12: Final Touches
- Group Text Layers: Group all text-related layers.
- Resize: Resize the text group.
- Add Glow Touches: Create a new layer above everything and change the blending mode to “Screen”.
- Paint Glow: Use a soft rounded brush to paint glow effects in various areas with different colors.
- Curves Adjustment Layer: Create a Curves adjustment layer and darken the overall image.
- Paint Over Areas: Use a black brush with 100% flow to darken the edges and emphasize important areas.
Step 13: Save and Export
- Save as PSD: Save the file as a PSD.
- Export: Export the file as a PNG or JPG.

Pro Tips for Thumbnail Domination
- Reaction Images: Images with good reactions are a good idea.
- Dynamic Lighting: Choose images that are well lit and have dynamic lighting.
- Inner Glow: Inner glows can be achieved in Blending options.
- Test Your Thumbnails: Take a screenshot from the YouTube Main feed and test the final image.
- Stay Updated: Keep an eye on current trends and adapt your style accordingly.
Conclusion
Creating great thumbnails is an essential skill for any YouTuber who wants to grow their channel. By following the tips and techniques in this guide, you’ll be well on your way to creating thumbnails that attract attention, generate curiosity, and drive more views to your videos.
FAQs
What if I don’t have Photoshop? No problem! You can use free alternatives like Photopea, which offers similar features directly in your browser.
How important is my facial expression in the thumbnail? Very important! A good reaction in your image can significantly increase click-through rates.
How can I test my thumbnails to see if they work? Take a screenshot from the YouTube main feed and test the final image to see if it grabs attention. Tweak it until you’re satisfied.

