
Hey man! How about transforming your YouTube videos with incredible lighting? You don’t need expensive equipment to achieve professional-looking results. This guide will walk you through simple and cheap lighting setups that will make your videos shine.
The Art of Lighting: It’s All About Creativity
Lighting is an art form, and there’s no right or wrong way to do it. Experiment with different setups to find the perfect look and feel for your videos. Lighting can dramatically change the mood and focus of your content.
Focus on Your Subject First
Prioritize lighting yourself or the main subject of your video. Don’t worry about the background until you’ve got your subject looking great. The goal is to ensure viewers focus on you and the content you’re delivering.
Lighting Setups: From Zero to Multiple Lights
Whether you have no gear or multiple lights, there’s a solution for you. Here are several lighting setups, from the most basic to more advanced:
1. Natural Light: Harness the Power of Windows
- The Window Solution: If you don’t have any lights, start by sitting in front of a window. Natural light can provide excellent illumination.
- Simple and Effective: Even with a dark background, good lighting on you keeps the focus where it should be.
- Enhance with Background Light: Adding a background light can change the shot’s feeling.
2. Dealing with Ceiling Lights: A Potential Hazard
- Ceiling Light Considerations: Depending on your room, ceiling lights can either enhance or hinder your filming.
- Positioning is Key: Standing directly under a ceiling light can create unflattering shadows.
- The Shadow Problem: Direct overhead lighting can cause dark shadows under your eyes and hot spots on your forehead.
- Solutions: Turn off the ceiling light or reposition yourself to avoid direct overhead lighting.
- Adjust Your Position: Change your position in the room to avoid shadows.
- When in Doubt, Turn Them Off: If ceiling lights cause issues, turn them off and use alternative lighting.
3. One Light Setup: Simple and Effective
- Utilize Existing Resources: Use lamps, desk lights, or any available light source.
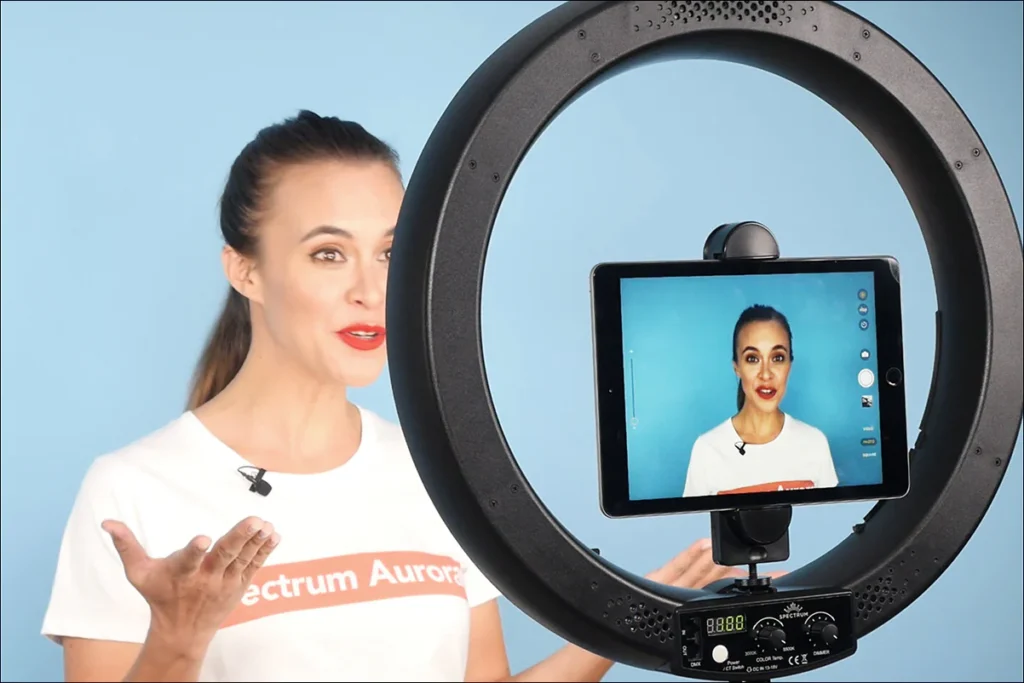
- Small LED Panels: A small LED light panel can make a big difference.
- Cost-Effective: A good LED panel can be found for around $42.
- Key Features: Look for a light that is small, lightweight, and has a built-in battery and diffuser.
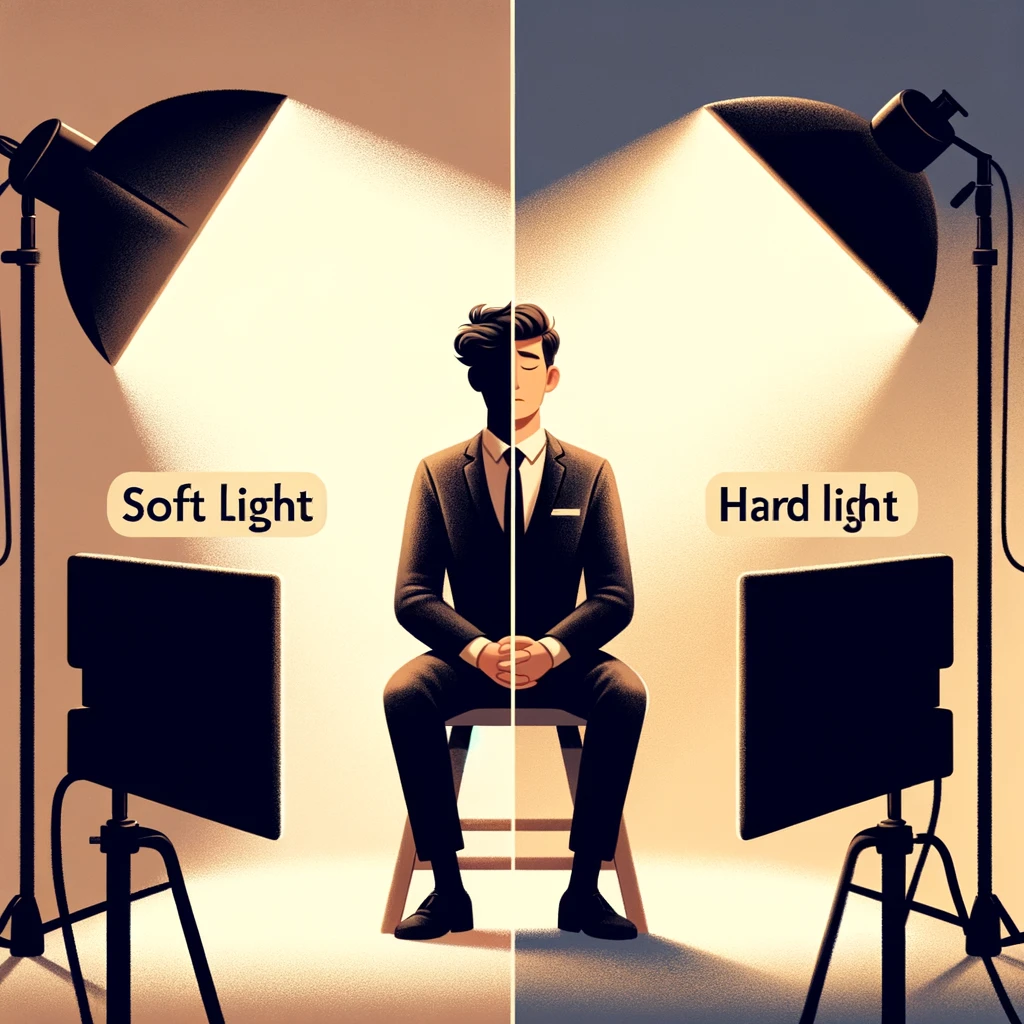
- The Importance of a Diffuser: A built-in diffuser throws a nice, soft light, ideal for lighting up your face.
- Strategic Placement: Position your light just above eye level.
- Avoid the Horror Look: Don’t place the light too low, as it can create unflattering shadows.
- Even Lighting: Place the light near your camera for even lighting across your face.
- Dramatic Lighting: For a more dramatic look, move the light off to the side to create shadows.
- Mounting: Use a light stand to keep your light in the ideal position.
- Neutral vs. Dramatic: Adjust the light’s position to achieve either a neutral or dramatic effect.
- Dealing with Harsh Shadows: If your light doesn’t have a diffuser, you’ll get harsh shadows.
- DIY Diffusion: Use a pillowcase or baking paper to diffuse the light.
- Bouncing Light: Bounce the light off the ceiling or a wall behind the camera to soften it.
- Experiment: Try bouncing the light off the wall behind the camera.
4. Two Light Setup: Adding Depth and Balance
- Versatility: Use one light for you and another for the background, or use both to light yourself.
- Fill Light: Use a second light to fill in shadows created by the first light.
- Adjust and Experiment: Move the lights around to change the look of the shot.
- Standard Setup: Place both lights in front of you, above eye level, at different brightness levels.
- Primary and Fill: One light acts as the primary light, while the other fills in shadows.
- Behind the Scenes: Use a brighter primary light and a dimmer fill light.
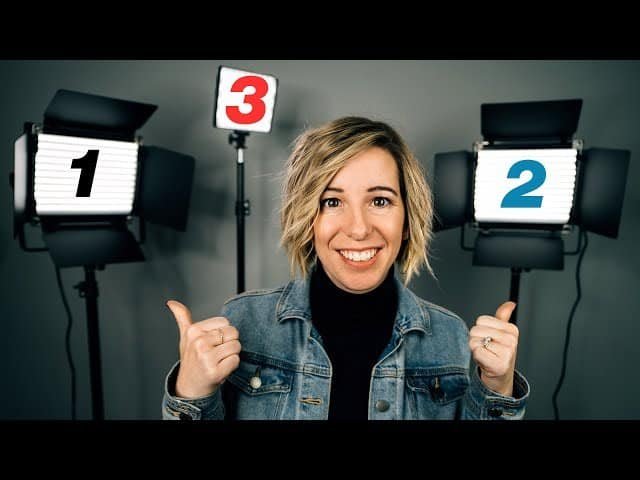
5. Three-Point Lighting: Professional Look
- Popular Setup: This setup is widely used in film and documentaries.
- Key, Fill, and Backlight: The setup includes a key light, a fill light, and a backlight.
- Backlight for Depth: The third light creates outlines and depth by lighting you from behind.
- Creating Separation: The backlight helps separate you from the background.
- Experiment with Placement: Adjust the position of the backlight for the desired effect.
Quick Tips for Perfect Lighting
- Match Color Temperature: Keep the color temperature consistent across all lights to avoid weird colors, especially in skin tones.
- Lights Above Eye Level: Essential if you wear glasses to avoid reflections in the camera lens.
- Positioning Matters: Place lights high and off to the side to minimize reflections.
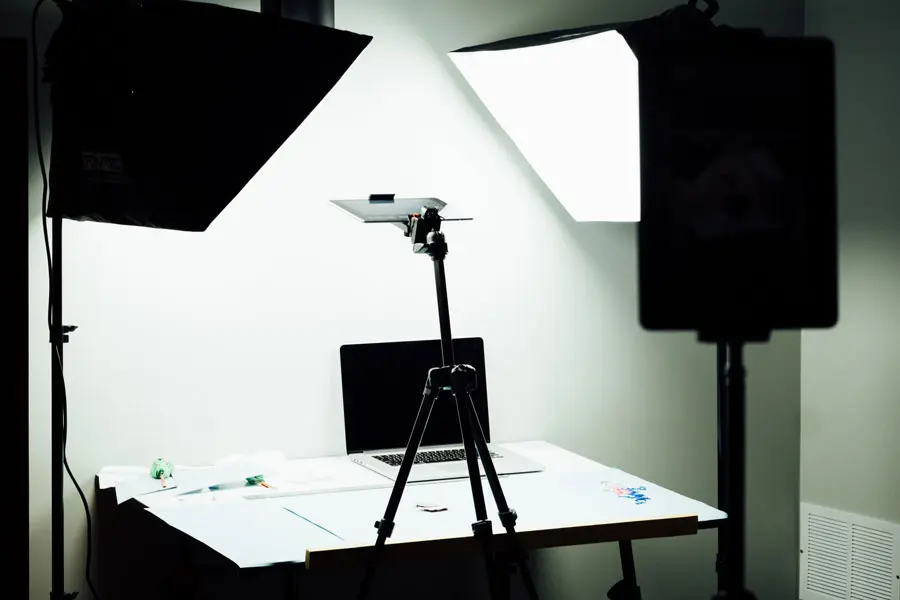
Real-World YouTube Lighting Setup
- Current Setup: The main light is a large diffused light, complemented by natural light from a window.
- Diffused Light: A big diffuser softens the light and reduces harsh shadows.
- Natural Fill: Natural light from the window fills in shadows, reducing the need for a second light.
Smart Lighting for Ultimate Control
- Philips Hue Lights: Smart lights allow individual control over brightness and color.
- Custom Scenes: Create different scenes to control each light individually.
- RGB Lights: Full RGB lights in the ceiling allow for a wide range of color options.
- Adding Depth: Additional lamps can add color and depth without being overpowering.
- Focus on the Subject: Always prioritize lighting yourself before adjusting the background.
Simplicity is Key
- Don’t Overcomplicate: Focus on one main light and use other lights to enhance the scene.
- Effective Lighting: Achieve great results with simple lighting setups.
Conclusion
Achieving professional-looking lighting for your YouTube videos doesn’t require expensive equipment or complicated setups. By understanding the basic principles of lighting and experimenting with different techniques, you can create visually appealing videos that engage your audience and enhance your content. Whether you’re using natural light from a window, a single LED panel, or a multi-light setup, the key is to prioritize lighting yourself, pay attention to color temperature, and avoid unflattering shadows.
FAQs
What is the most important thing to consider when setting up lighting for YouTube videos? The most important thing is to focus on lighting yourself or the subject of your video first. Make sure the main focus of the video is well-lit and clear before worrying about the background. This ensures that your viewers are focused on you and the content you are delivering.
How can I avoid reflections in my glasses when using lights for filming? To avoid reflections in your glasses, position your lights above eye level. If the lights are at eye level, they will reflect directly into the camera lens, causing distracting reflections. Placing the lights higher will cause the light to bounce down and away from the camera.
What should I do if I don’t have a diffuser for my lights? If your light doesn’t have a built-in diffuser, you can easily add some diffusion by using a pillow case or even some baking paper over the light. Alternatively, you can bounce the light off the ceiling or a wall behind your camera. This will soften the light and reduce harsh shadows, creating a more flattering and professional look.